Photography Information

what to wear for senior pictures

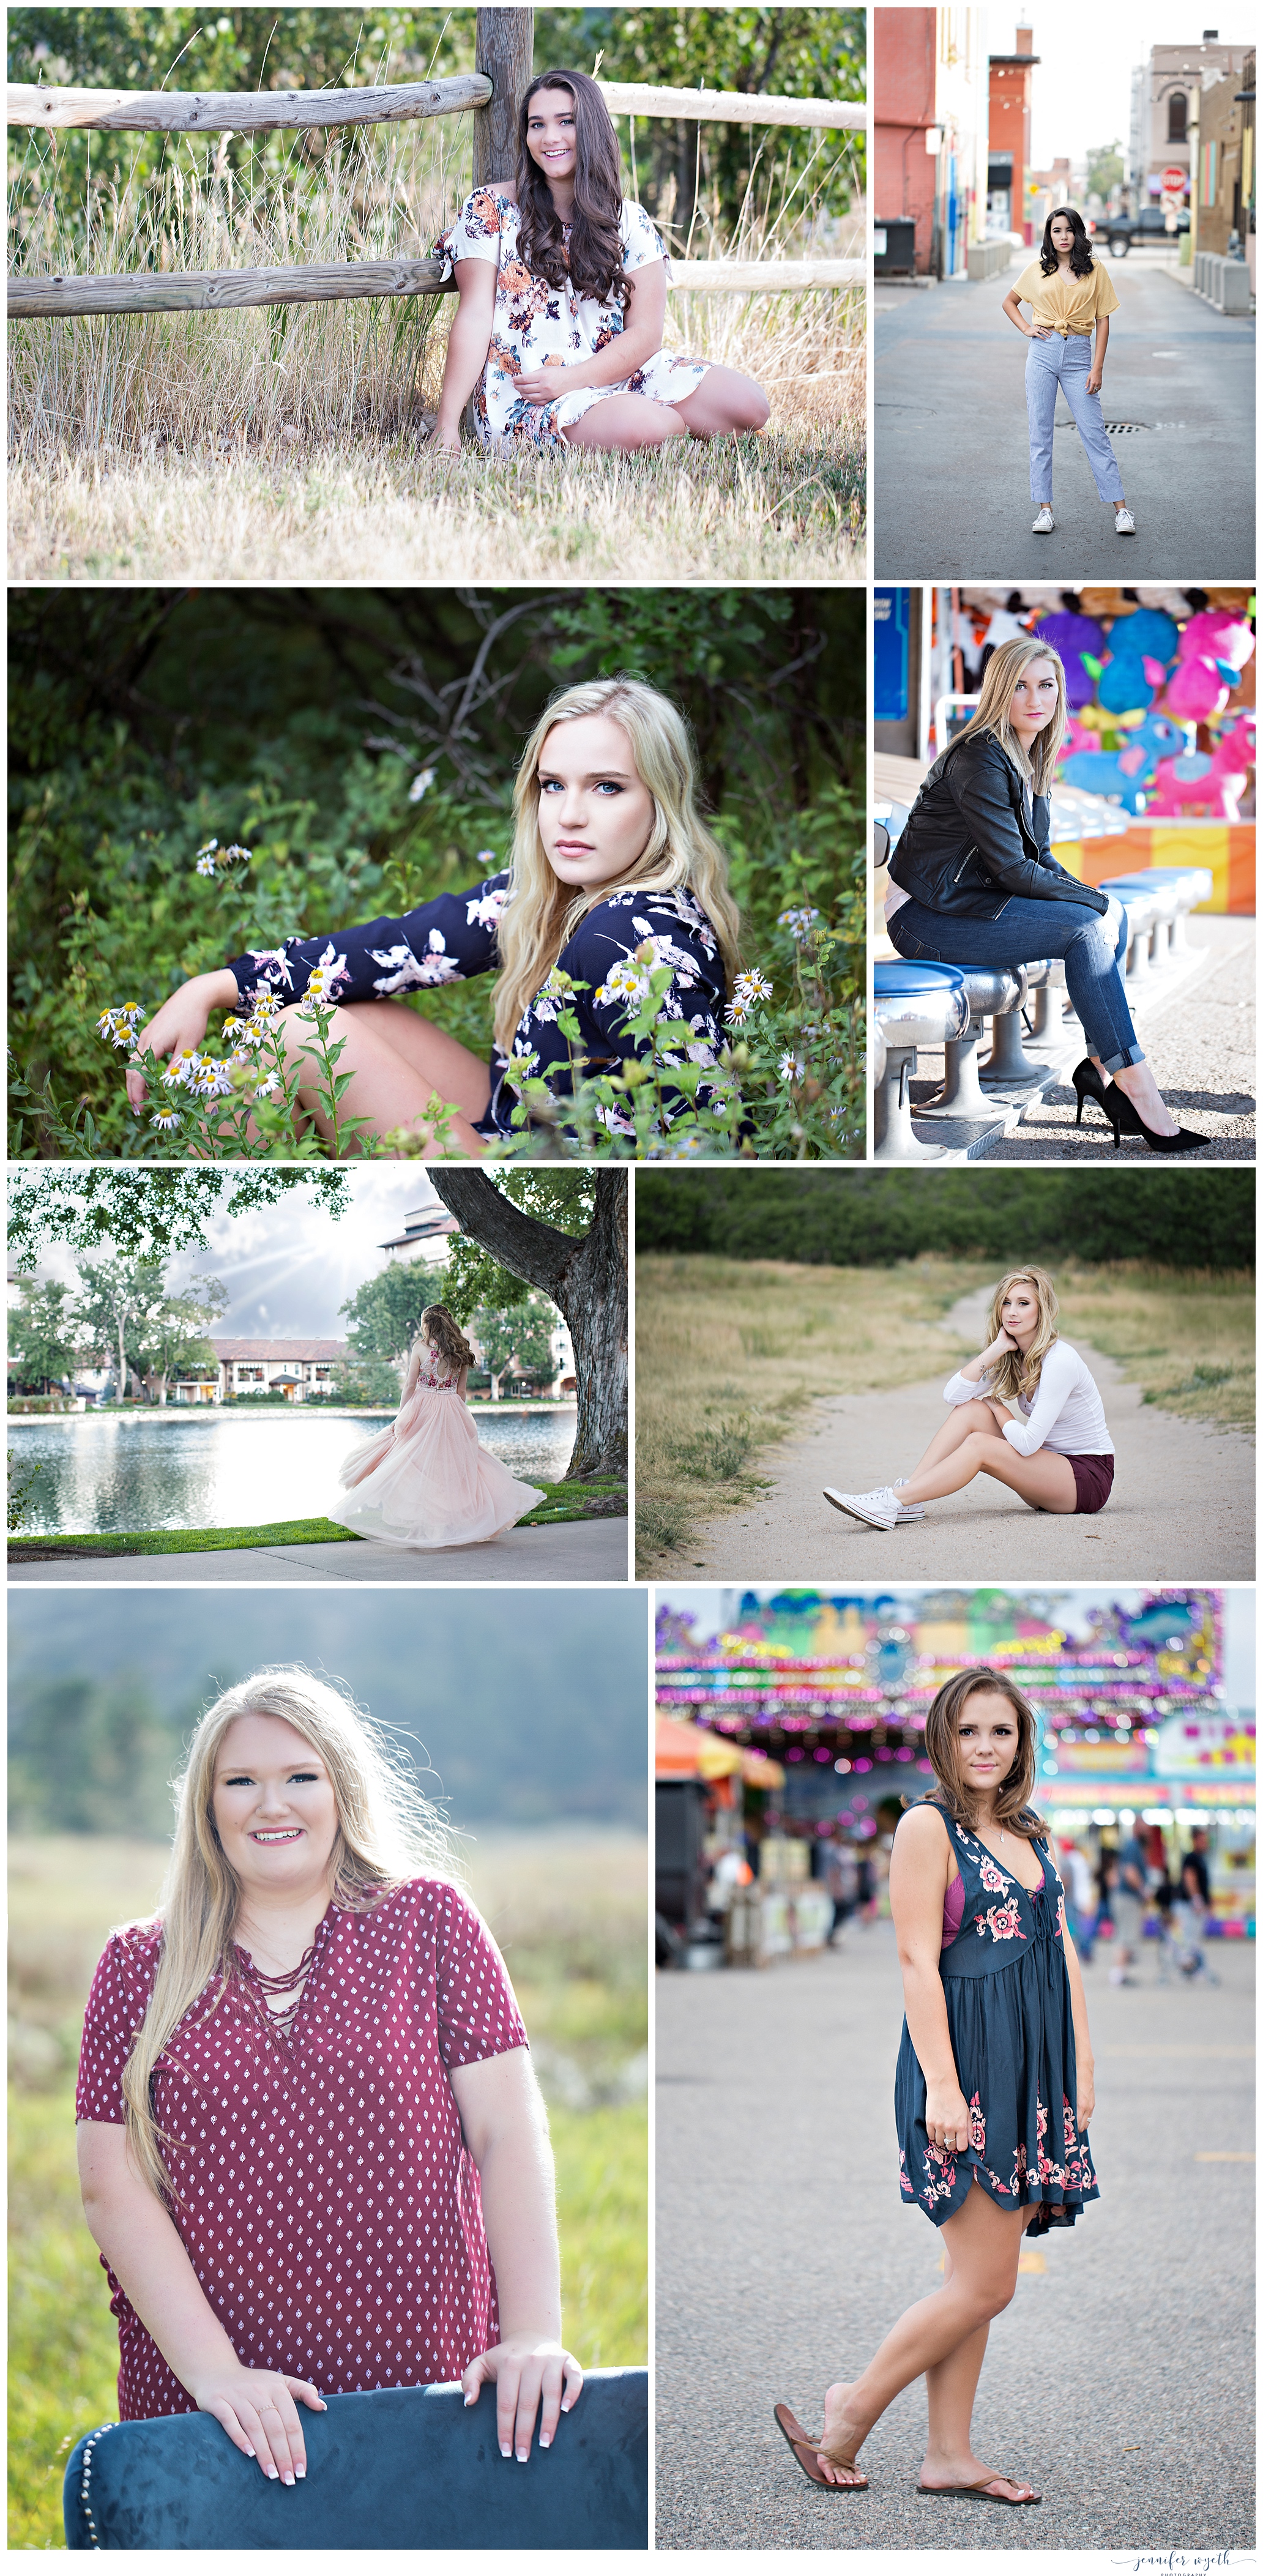
Not sure what to wear for your senior pictures?  Go with YOUR style.  If you are a super casual person, make sure you don’t stray TOO far from that for your pictures.  It’s obviously okay to dress things up a bit, but you want to make sure the pictures reflect YOU and who you are at this time in your life.  

Make sure you have a lot of different colors.  I love the color blue... and if I’m not careful, I will wear blue 5 days in a row.  For your senior pictures you will want to have a lot of different colored outfits.  Also be aware of what colors you look good in and what drowns you out.

Don’t be afraid of patterns.  Bigger patterns are great for pictures.  It adds texture and variety.  The patterns to steer clear of are the really tiny ones.  Gingham, for example, isn’t great for pictures because it reads weird on camera.  It also looks strange if it’s creased at all (like if you’re sitting down and the shirt is folding a little like it naturally will).  But go for patterns. 

Textures are a must. It add interest without being distracting.  Lace and scarves are great examples of adding texture in simple ways. 

Writing on clothing?  As a general rule, don’t do it.  Even though it is super cute in real life, when someone looks at your senior pictures you want them to see your beautiful face and personality shining through... not stop to read your shirt.  Save those for school.  :)  So, unless there's a special meaning behind the writing, I'd say pass on it.  

Figuring out what to wear for your pictures can be crazy stressful!  That's why each one of my clients receives a copy of my "What to Wear magazine which is almost 80 pages filled with everything from genres of clothing to body shapes to skin tones.  


what to bring

People are constantly asking me what they should bring to their senior shoot with me.  Being prepared and bringing certain items to your shoot will help things run much more smoothly.  Please check over this list and make sure you have EVERYTHING on it with you.  The last thing we want is a hungry, grumpy girl with no lip gloss.  ;)

*A friend (helps relax you, makes you laugh, and holds the reflector for me :))
*Snacks                                                                                                                    *Water
*Lip Gloss                                                                                                                *Brush
*Hairspray                                                                                                                *Floss

professional make-up

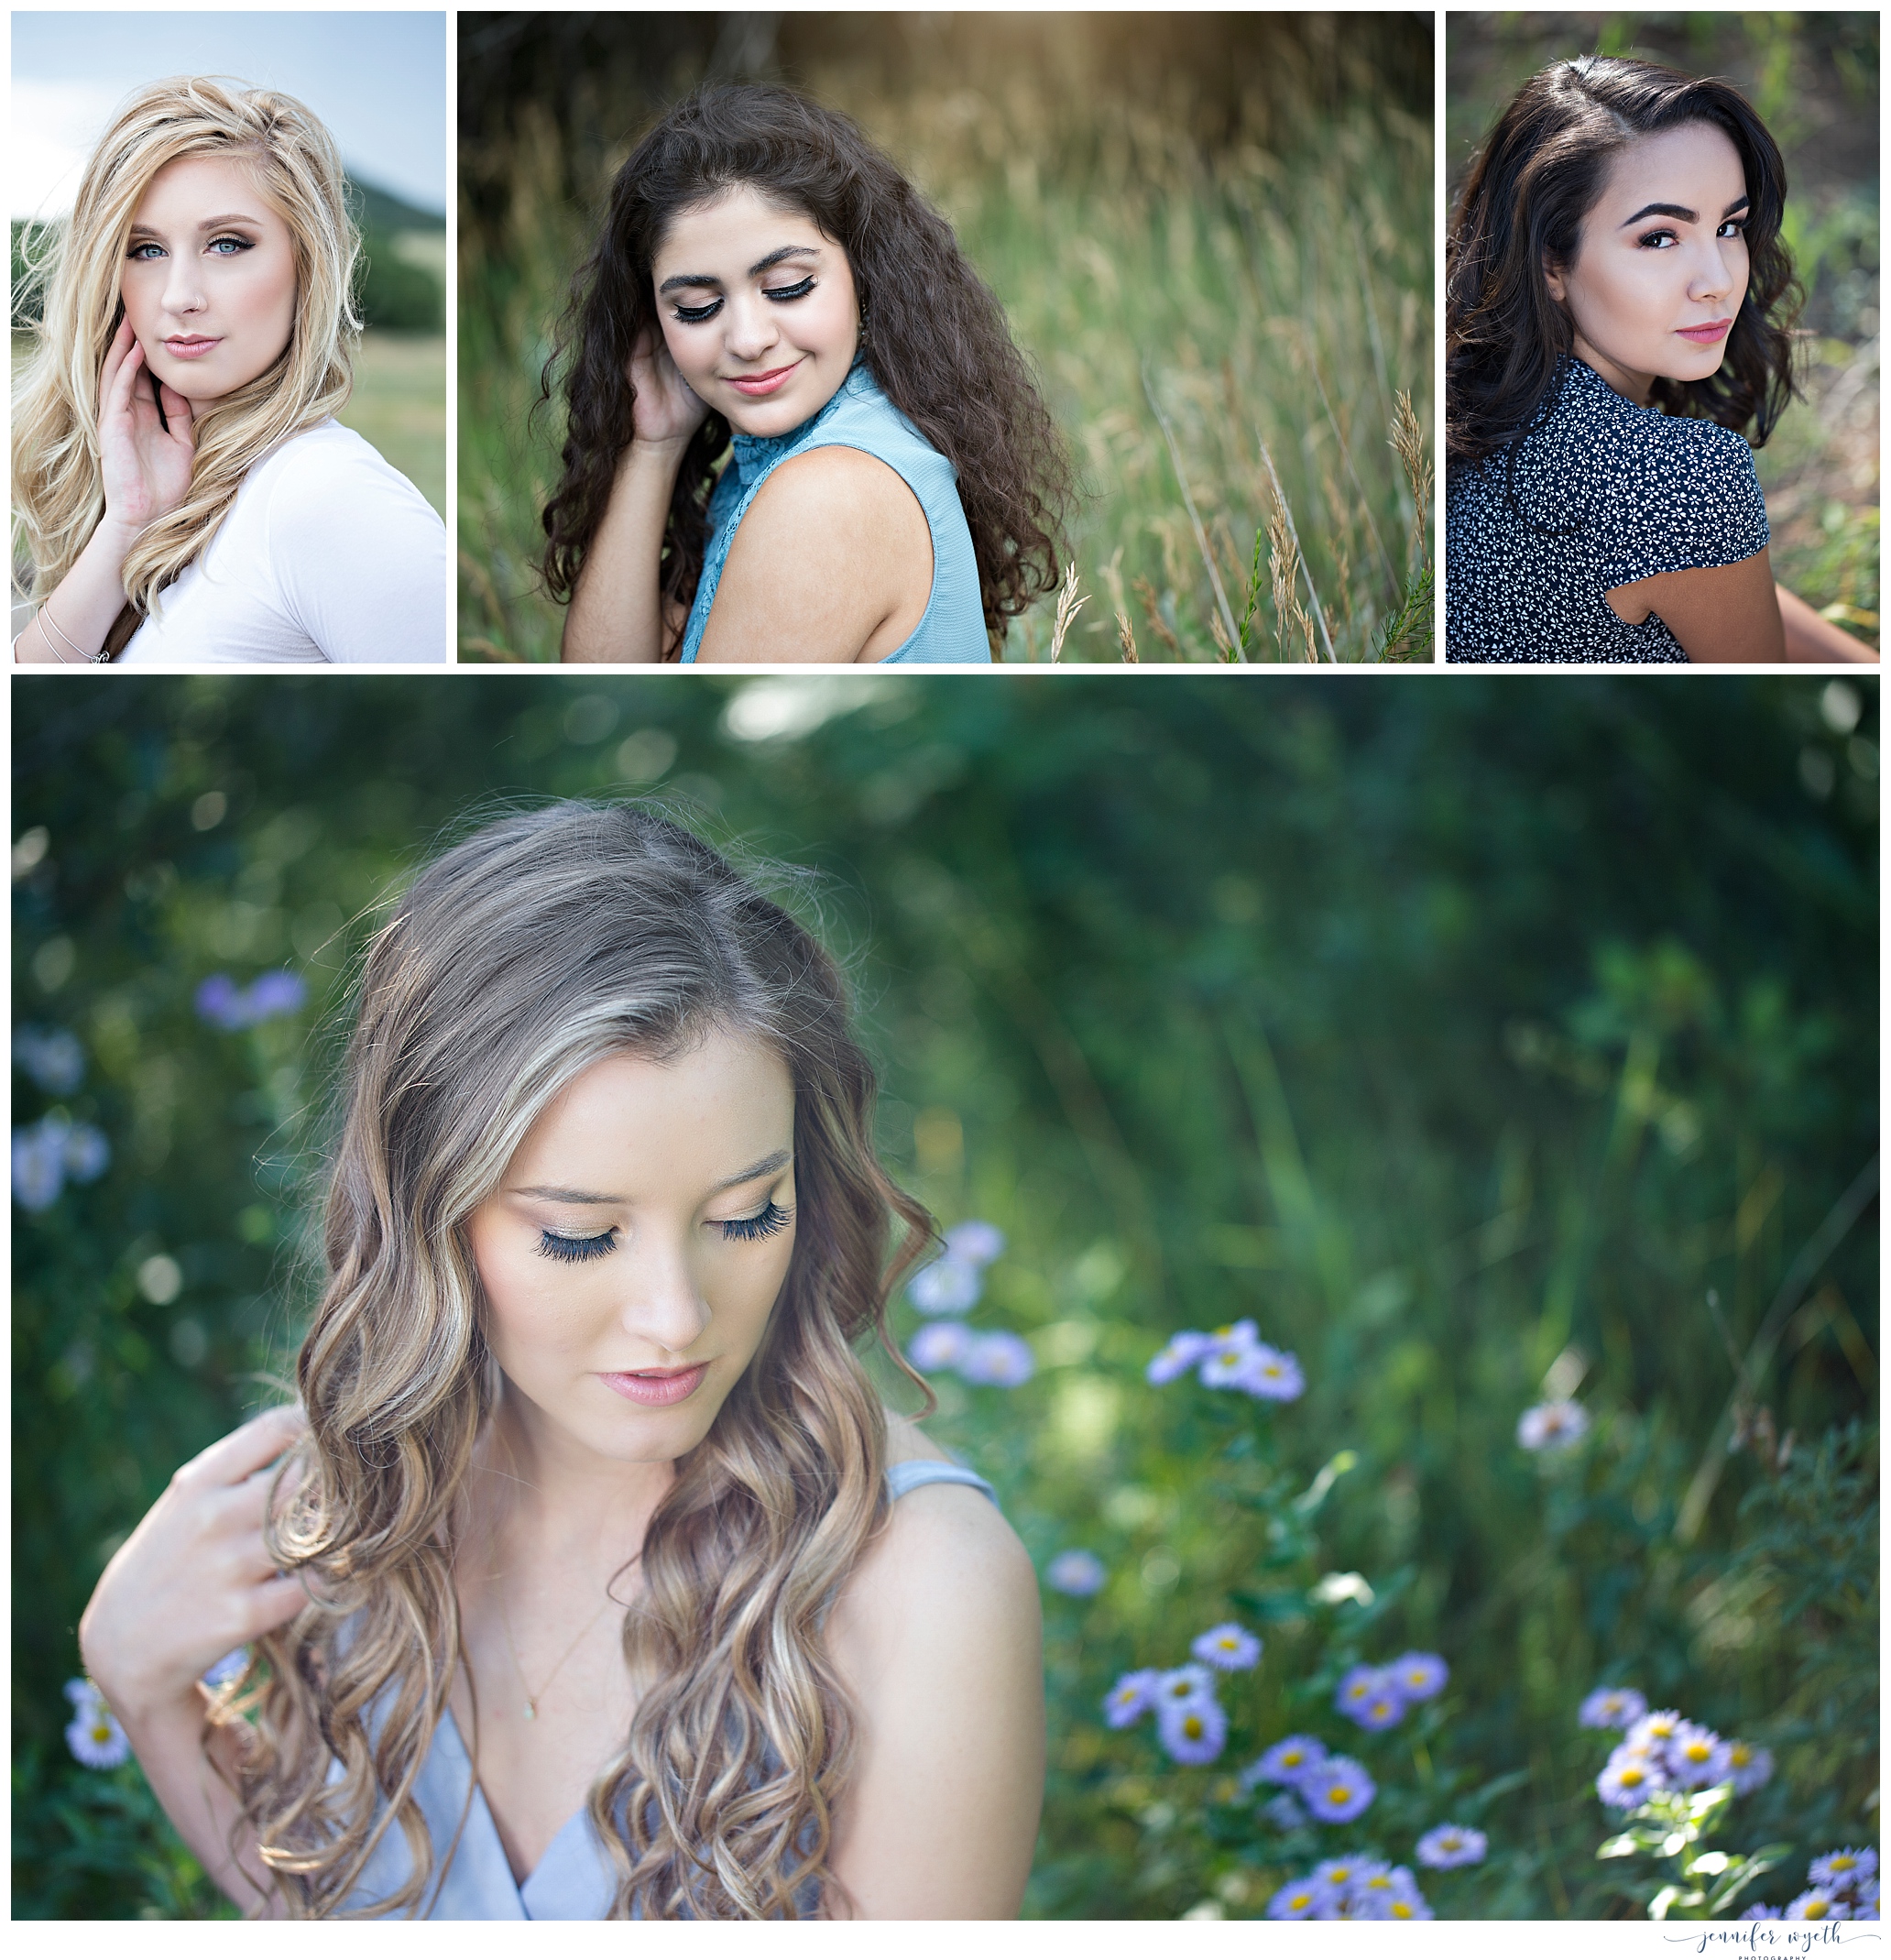
Professional make-up is vitally important.  Day-to-day make-up is very different than “picture” make-up.  I always say that the camera eats make-up for lunch so you need to have on extra.  As part of your session, I provide you with a $50 gift card towards make-up and a professional make-up artist.  If you go for a morning shoot you'll have the make-up artist come to your home in lei of getting the gift card.  It's first class treatment!  Either way, she will know where to apply extra make-up to show that beautiful, natural glow.  Don’t normally wear make-up?  No problem.  I will make sure your make-up artist knows this so she can just enhance that natural beauty. 

One more thing to keep in mind:  False eye lashes only enhance those beautiful eyes.  You don't need to go crazy with the lashes.  A more natural look is great but you should at least put some on... or rather, have a professional make-up artist put them on you.   You won't regret it!  Promise!

Looking for more killer make-up tips?  Go find them HERE.

why do i need my hair professionally done?

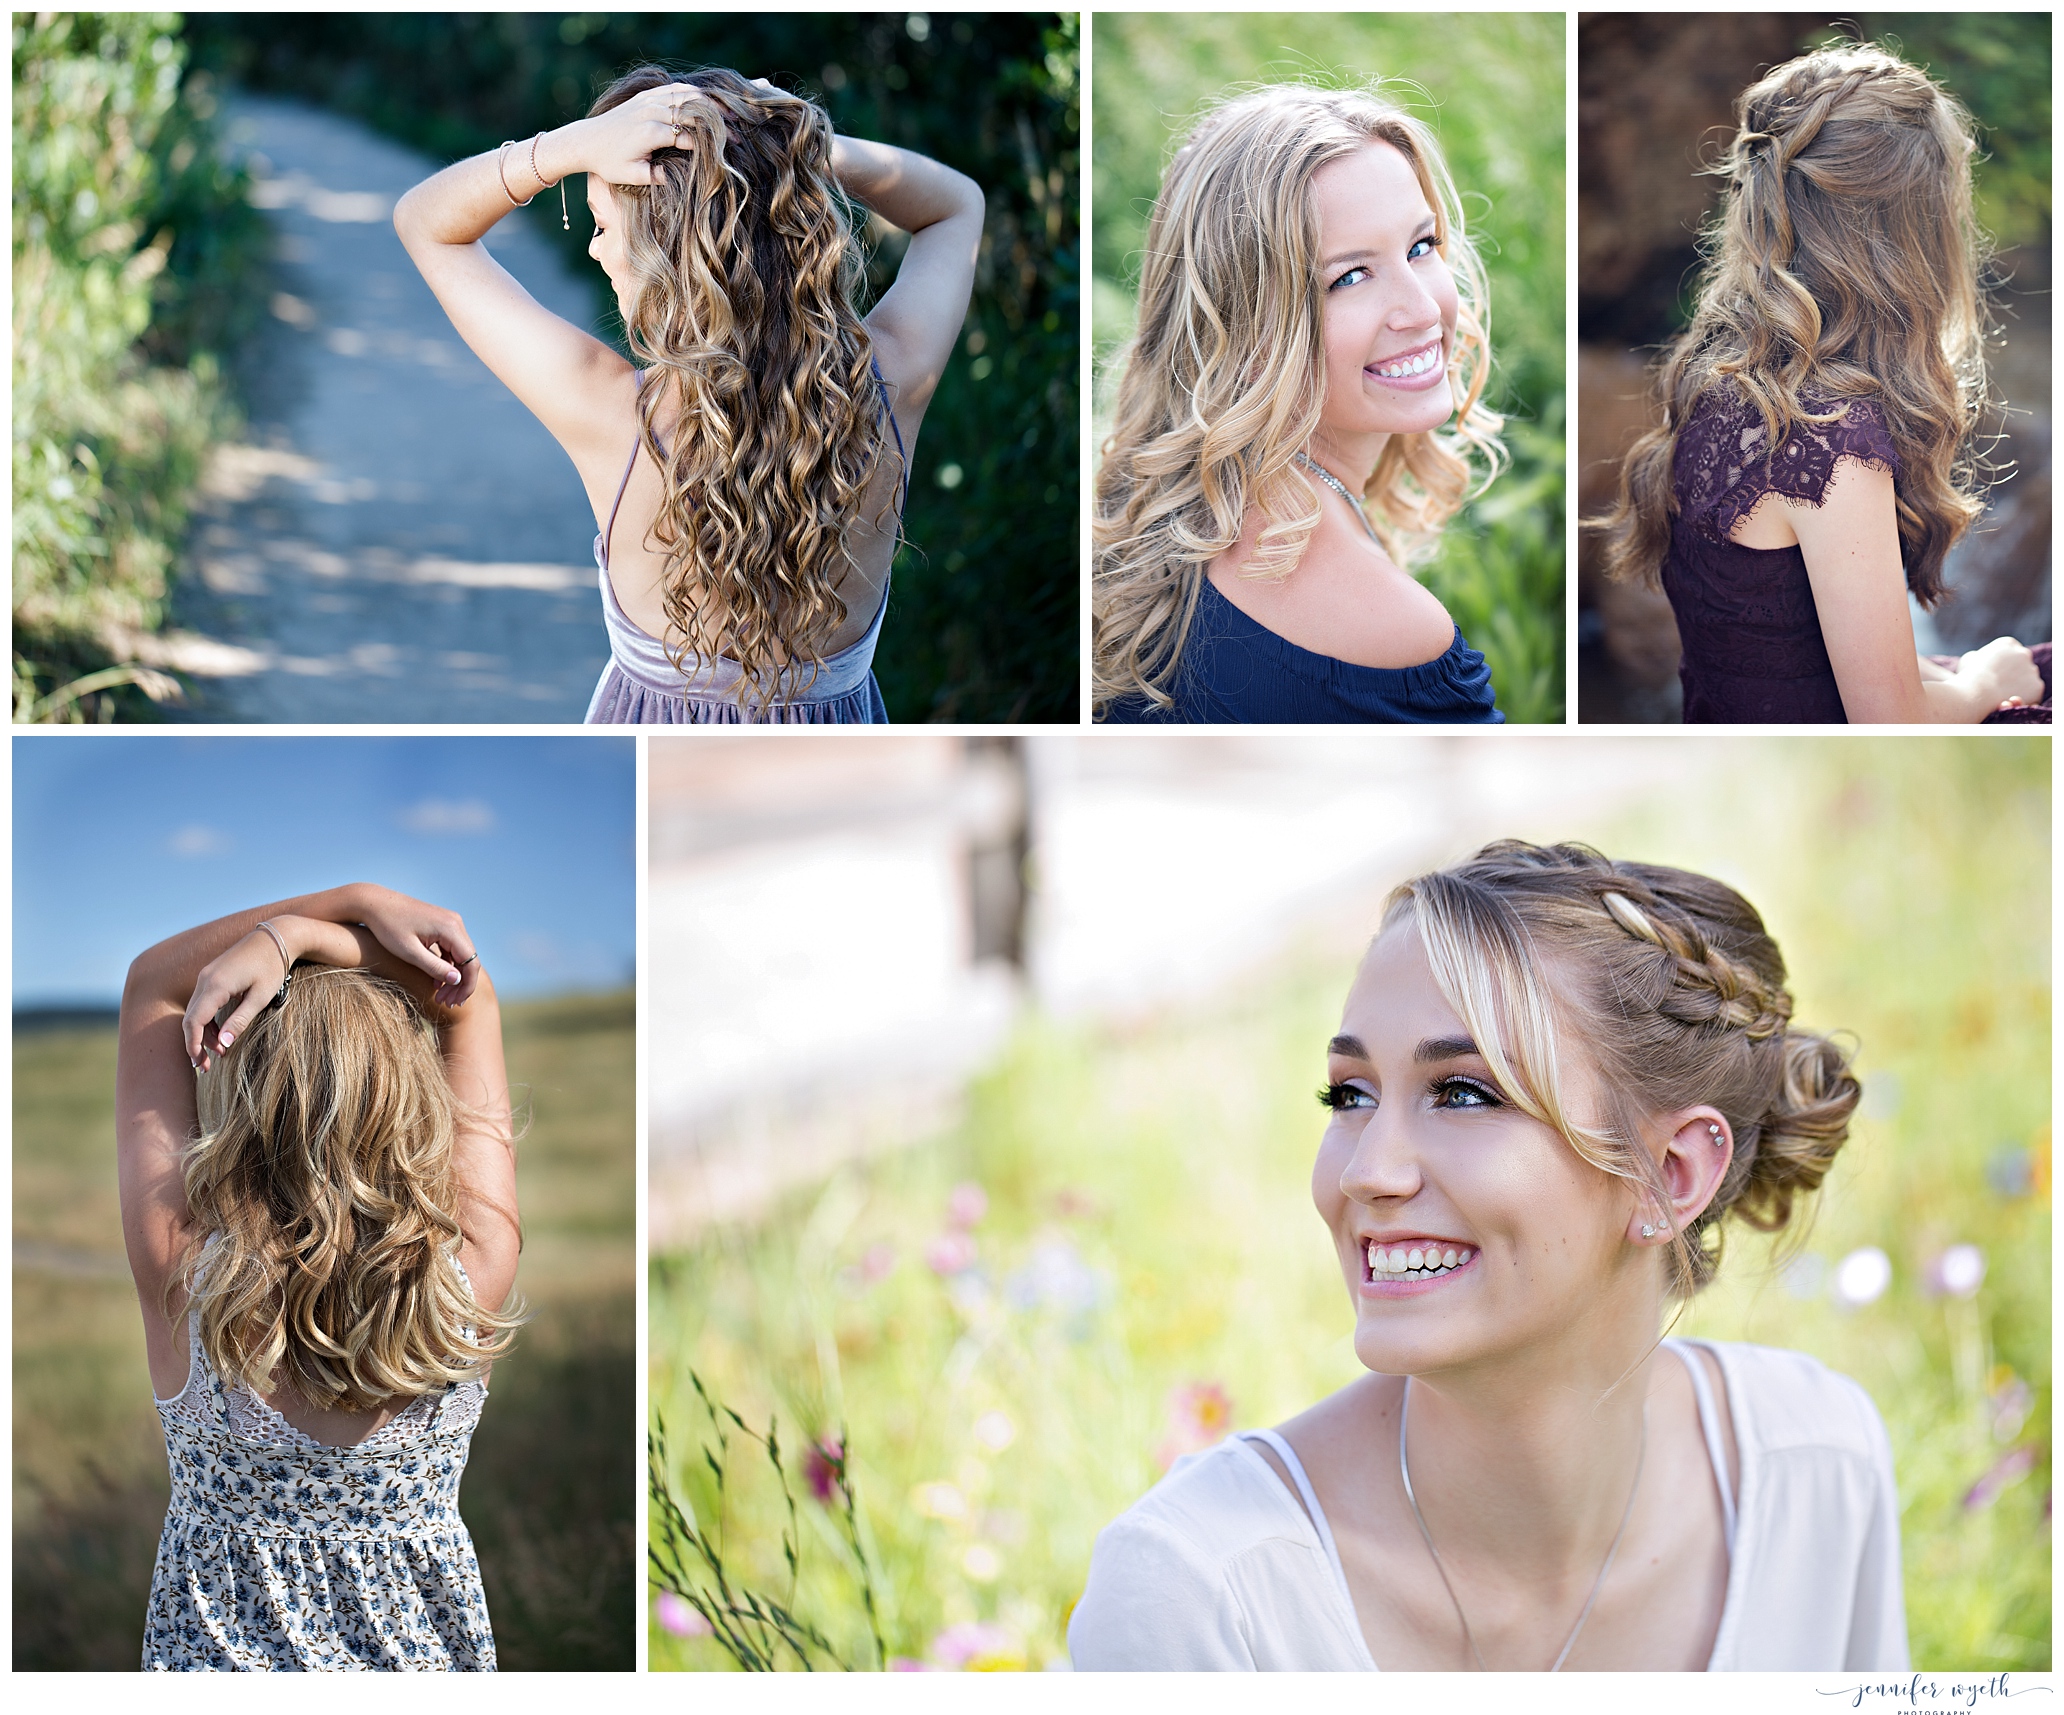
Getting your hair professionally done is always a good idea!  A professional cosmetologist knows how tight to make the curls or how much extra hair spray is necessary when you are going to be out in the natural elements for several hours.  That is why I provide a professional cosmetologist as part of your session.
If you would like to have your hair done in a few different styles for your Senior Session, that can be done as well.  My cosmetologist is great at this!  We will start with your hair up and take it down later in the shoot.


Chic Critique Magazine Cheerleader Feature! {Colorado Springs Senior Photographer}

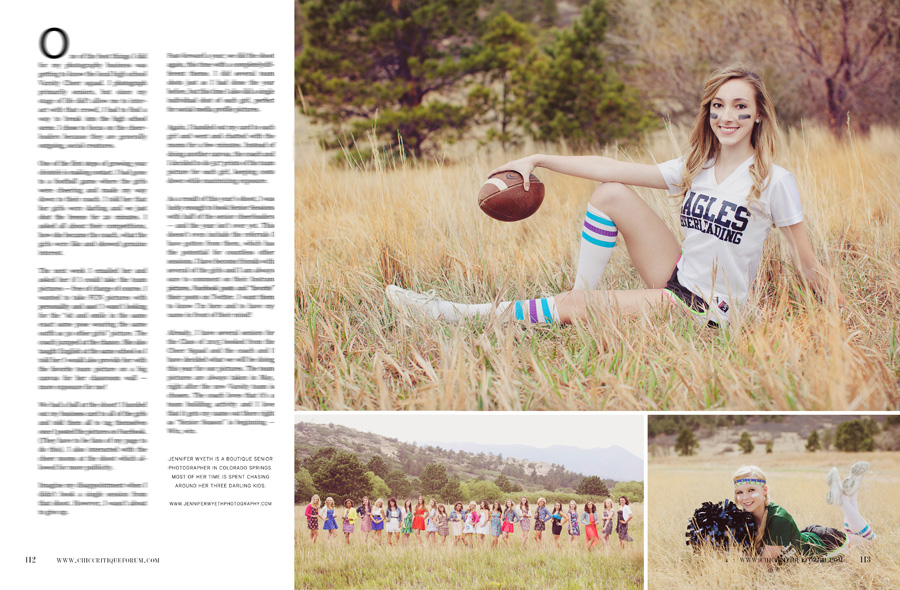
I'm SUPER excited to have been featured in Chic Critique Forum's magazine!  It's so cool to see MY images printed in a real life magazine!!!  Makes me feel like a grown up.  ;)  Because this is so fun for me I am offering a GIVE AWAY!  I will be offering a FREE digital copy of the magazine to one lucky person!  In order to qualify, you must be a fan of Jennifer Wyeth Photography on Facebook as well as follow me on Twitter.  For an extra entry, follow me on Google+ as well!!  (So a total of TWO entries for that!!) Once that's done, you also need to become a fan of Chic Critique on Facebook as well as subscribe to their newsletter.  (This is your THIRD entry!)

Please leave a comment for each "entry".  So, if you did each of the things above be sure to leave THREE comments!  One comment should include your email address so I can email you if you win.  I will pick a lucky winner on April 1st!!  YAY!

Here's the awesome feature!

How to get Cheerleaders to shout out YOUR name

Cheerleading photography article for photography magazine

The Importance of Packaging {Colorado Springs Photographer}

I am a firm believer in spoiling.  Raise your hand if you DON'T like to be spoiled from time to time.  (Those of you with your hands up are lying!  We ALL love it!!)  For this reason I always give my clients a gift of sorts.   I usually ask them to make a wish list.  If they don't have anything on it (meaning they got everything they could ever ask for with the session) I will do a beautiful Christmas Ornament with their favorite senior image in it or something along those lines. I also have beautiful packaging.  I have stickers with my logo on it that I slap all over everything (don't want them to forget you!) as well as boxes and bags for all of their images to go in.  This is nice for a few reasons: 1) Keeps everything safe; and 2) who doesn't love to open a present?!  Even if you know what it is, it's still fun to rip something open when a fun gift is inside!  I mean, I'd be lying if I said I hadn't wrapped my own gifts for Christmas a time or two.  :)  (All us moms are guilty of it!)

The last thing I always make sure I do is to write my clients a thank you card to my client.  Choosing a photographer is just that.  They.  Pick.  You.  Keep them happy and guess what?  They will tell their friends!

The three best feelings as a photographer are:

1.) Knowing that your clients love their images.

2. ) Knowing that they love the prints they have purchased.

3.) Getting a call/shout out on Facebook saying how much they loved an unexpected gift.

gray aqua pink and white packages

gift boxes that hold photographs for clients


Aperture! {Colorado Springs Photographer}

As I mentioned previously (ages and AGES ago), three things are involved in learning how to take pictures with your camera in manual... which in my opinion is the ONLY way to get a picture to look the way you want it to look.  One of those key ingredients is aperture.  Aperture (commonly seen as "f/" or "F Stop") is basically what is in and out of focus.  So, if you like the look of the background being out of focus, you will want to shoot "wipe open" as they say, or in other words, with a low aperture number.  What that will do is help you create an image with the subject in focus and the background out of focus.  You need to make sure you are focusing on the subject, of course.  :) Something else you must remember is that aperture is just one corner of the "triangle".  If you are properly exposed (you have the right amount of light coming into your camera so that your SUBJECT is lit nicely) and you mess with the aperture, it will "pull", so to speak, on one corner of the triangle.  If you change your aperture, you will need to adjust your shutter speed and/or ISO to keep your triangle balanced.

Example of shooting "wide open"
Camera settings: Aperture: f/1.4; Shutter speed: 1/250; ISO: 250

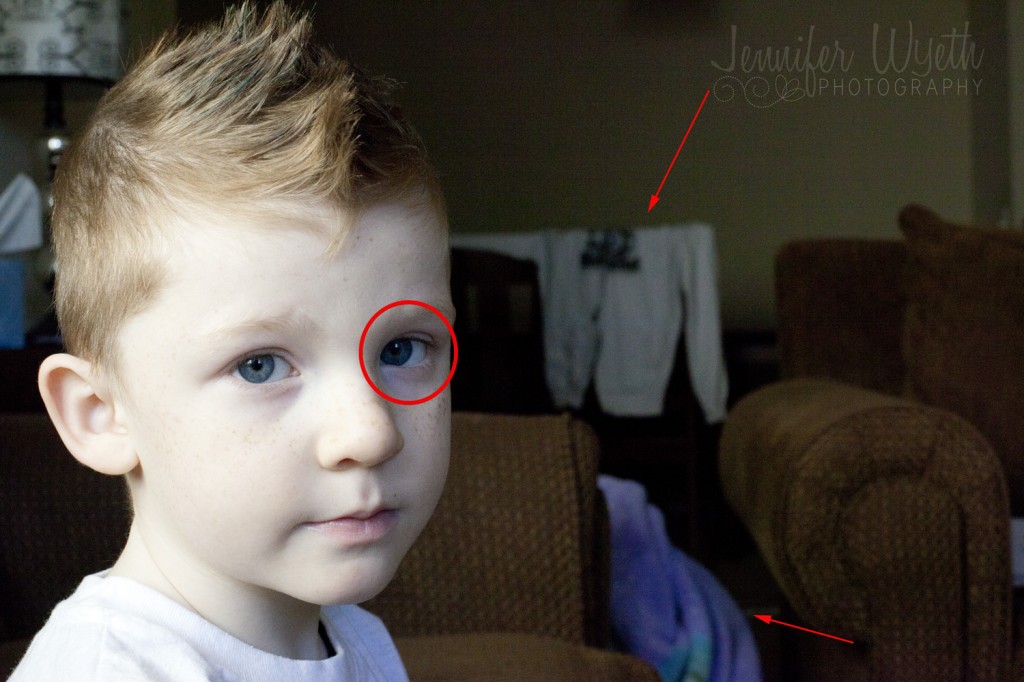
In the picture above my aperture was set at 1.4 (you will often see it like this: f/1.4).  That is as wide open as that particular lens will go.  Aperture is based on the lens, NOT the camera.  (Shutter speed and ISO are dependant on your camera, unlike aperture).  If you look closely, you can tell that I focused on the subject's right eye (my left).  It is clear and crisp.  Because I shot so wide open, even his left eye and ear are slightly out of focus.  You also can't tell what is in the background (which in this case is a good thing :)).  The red arrow is pointing to the arm of the couch that is he sitting on.  You can't even really tell that's what it is.

Shooting wide open is a great thing... as long as you aren't shooting TOO wide open.  People seem to think "the wider, the better".  Not always.  In fact, for me, rarely is wider better.  You have to think of what you want in focus.  I like my entire subject's face in focus.  Both eyes.  Mouth.  Stuff like that.  So, I generally stick around 2.8 or tighter.  I DO like the background out of focus.  Especially if you have nice pretty light back there.  Bokeh is a beautiful thing.

You have to think about pictures you are taking of two or more people as well.  If someone is standing slightly in front of the other person, you need to take that into account when setting your aperture.  If I'm taking family pictures I NEVER shoot wider than 5.6. (Only made that mistake once.)  So, my aperture number will be 5.6 or higher.  You want to make sure that everyone is in focus.  (there are, of course, exceptions.)  I know if I was a client there's no way I would pay big bucks to have a fancy picture of my family if two of my kids were slightly blurry.

My aperture is set at 13.0 in this picture
Camera Settings: Aperture: f/13.0; shutter speed: 1/160; ISO: 4000

Ok, in this picture I focused on the same spot (can you tell he was annoyed that I was taking time away from the Wii?)  The difference in this picture than the previous one is that I changed my aperture to f/13.  That's much tighter therefore much more will be in focus and there is not nearly the amount of light coming into my camera as when I was shooting wide open.  Because I tightened my aperture, I had to adjust my other settings to make sure he was still properly exposed.  I changed my shutter speed slightly but most of the change came from the ISO.  It went from 250 in the first picture to 4000.  BIG change.  But, that's what I had to do to make sure he wasn't nearly black.  You can also tell much better what is in the back ground since I shot tighter (remember, more in focus).  Obviously, both eyes are not in focus.  There's a wadded up purple Tinkerbell blanket just past the arm of the couch.  And who can miss the hubby's drying hoody? (laundry day.)  Big difference from the first picture, right?  In this case, I like the wide open shot better.  :)

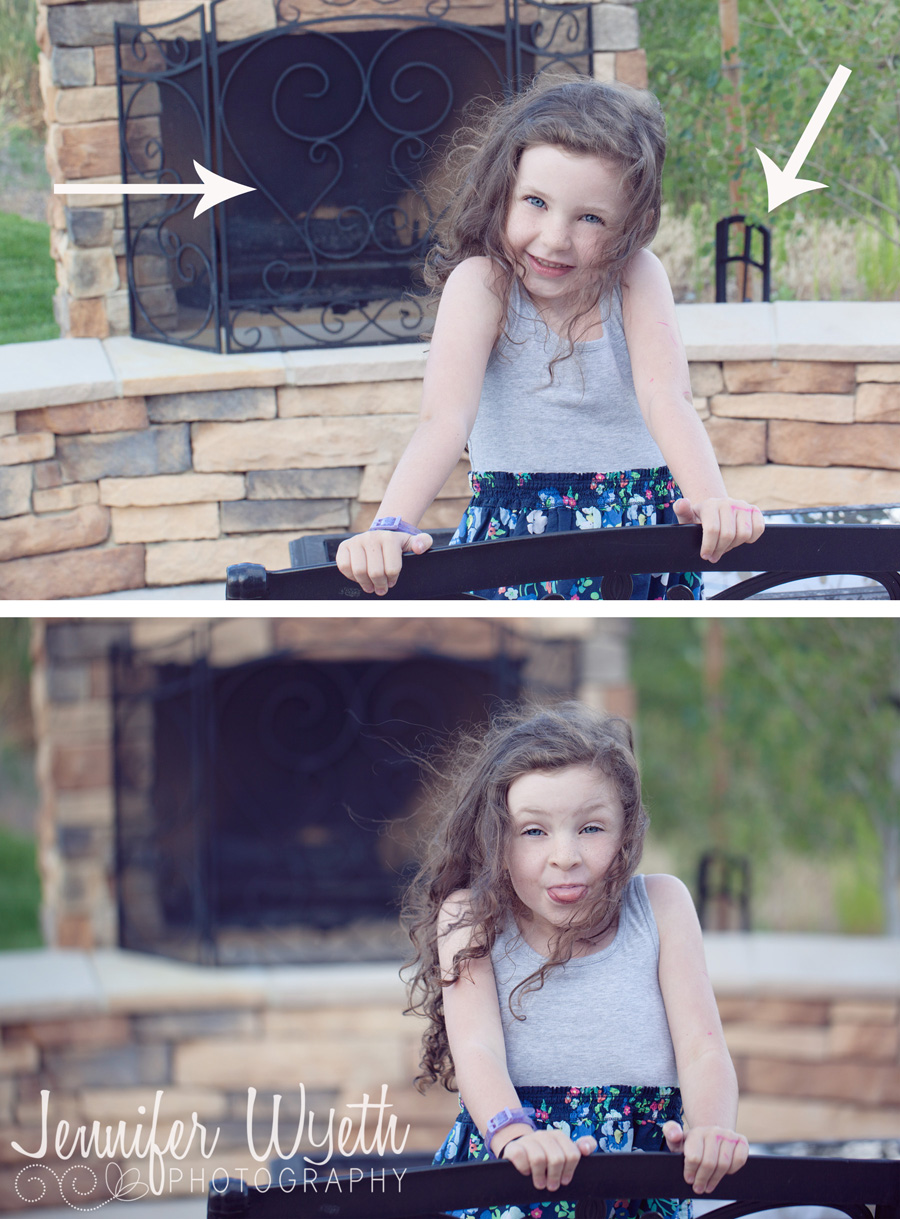
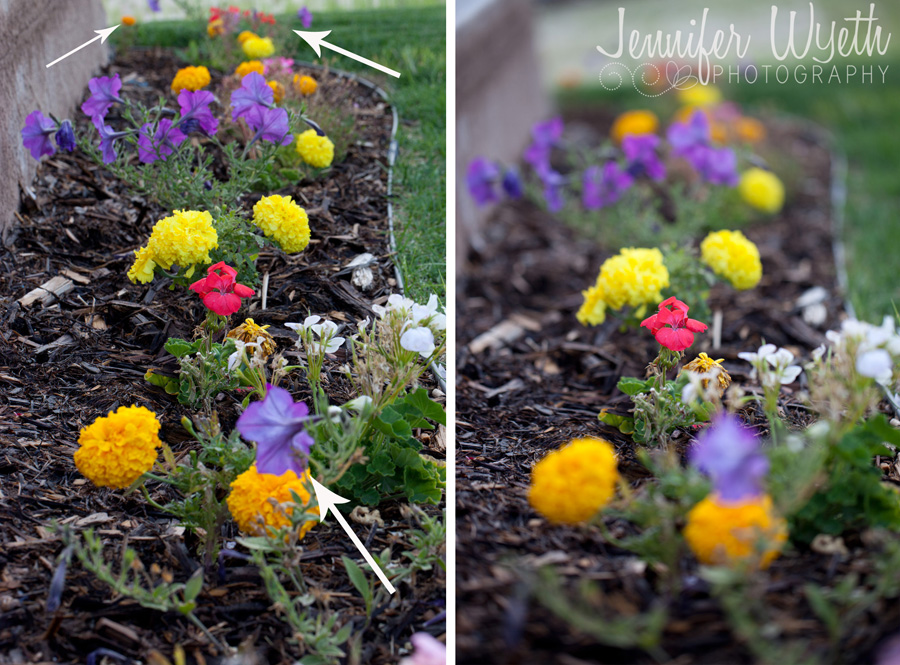
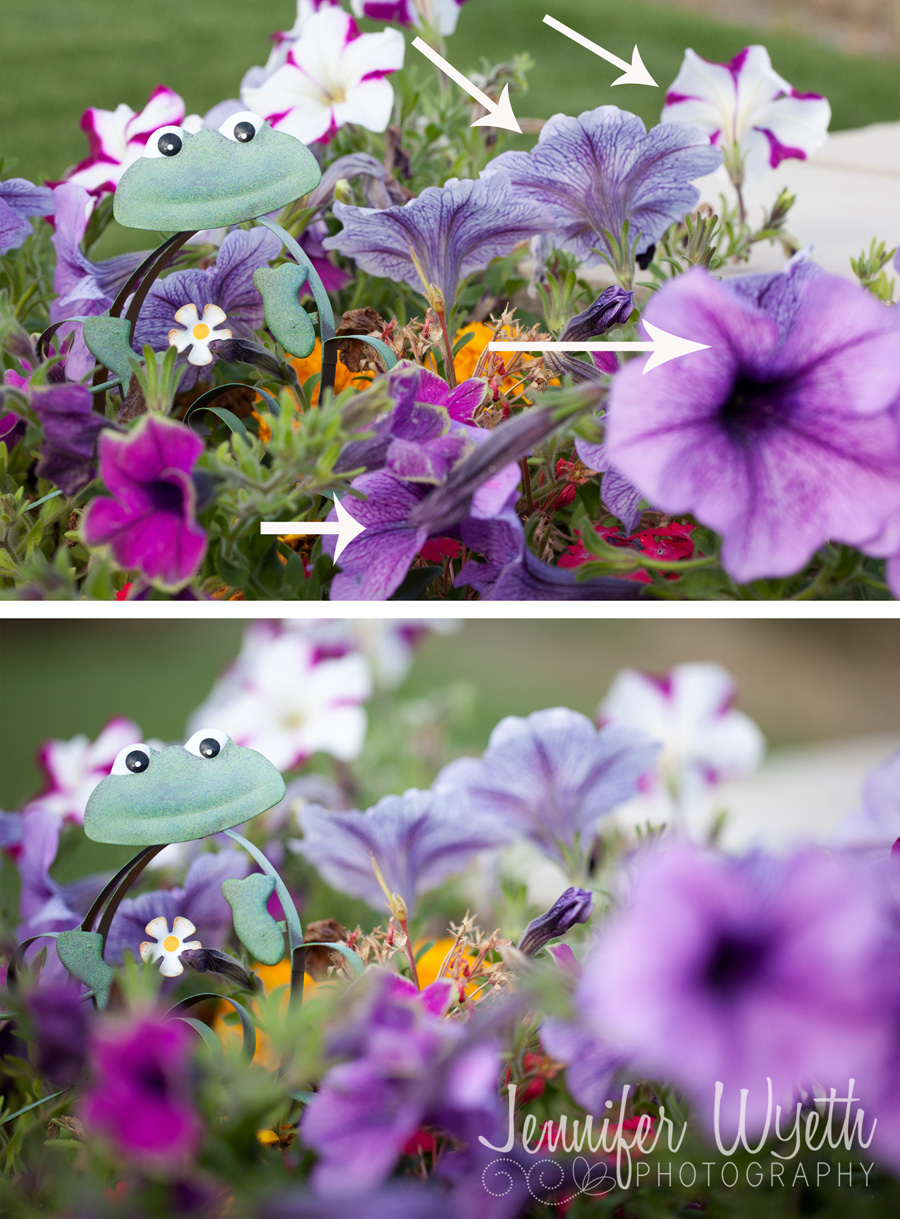
At the end of the day, aperture is a powerful tool.  It is so much fun to play with and can completely change the mood of your image.  Play around with it.  You'll be shocked at how much more you'll like your images once you have a better understanding of it.  Good luck and here are some more examples of shooting with a wide versus tight aperture.  Notice the arrows showing you where the big changes are when the aperture is changed.


wood pile in and out of focus

little girl in front of fireplace showing example of aperture

flowers as example of aperture changes

pictures of flowers with a wide or tight aperture

Professional Hair and Make Up {Colorado Springs Senior Photographer}

With my sitting fee comes professional hair and make up. It's hard to find someone you like in both of the categories but once you do, it's amazing.  I've heard placing an ad on Craiglist works.  I just asked around.   I have found some really talented girls just out of Cosmotology School do help me out with hair.  They go to my clients home and use enough product so that, even at the end of the shoot, their hair looks amazing!  For make up, I have settled on the Clinique counter at Dillards Department Store. I think a lot of different places would work but we are a little limited down here in Colorado Springs. Because I use the Clinique counter (FREE!!) I am able to give the girls a $25 gift card to spend while they are there.  That one seems to be a home run every time with the Senior girls!I have been very lucky to work with some naturally beautiful girls. However, the camera eats make up for lunch!  You need to go a little heavy on the make up to really notice it. I have done it both ways, (with/without hair and make up), and let me tell you, I will NEVER go back. I am also one of those photographers that believes that Seniors should look 18... not 25.  They can look 25 in their engagement pictures!  ;)

Check out these "before" and "after" pictures. These girls go from natural beauties to complete knock outs!  (Thank you Facebook-   - and my beautiful seniors- for the "before" images!)

cosmetology student spends time getting dolled up for pictures

mixed race beauty gets her hair and make up done for a photo shoot

Riley did her own hair (since it's short) but went for it with the make up!

Pine Creek teen gets hair and make up done

beautiful senior girl in orange top and playing at the lake

natural beauty made top model

S'mores: Capturing Everyday Moments~ Colorado Springs Children Photographer

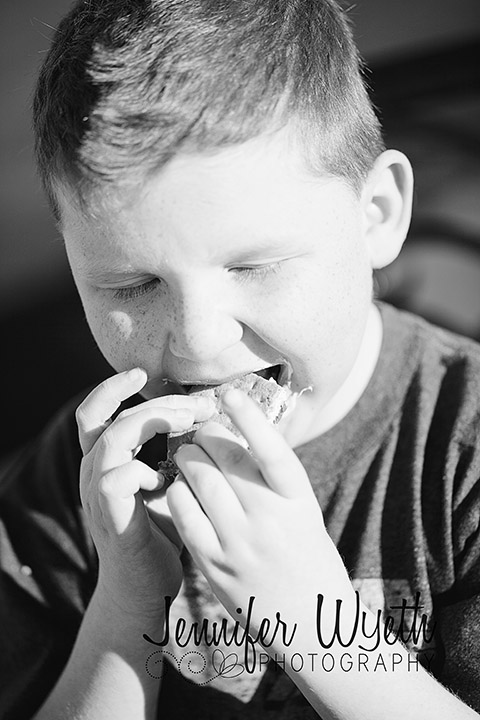
little boy with freckles in strong sunlight  

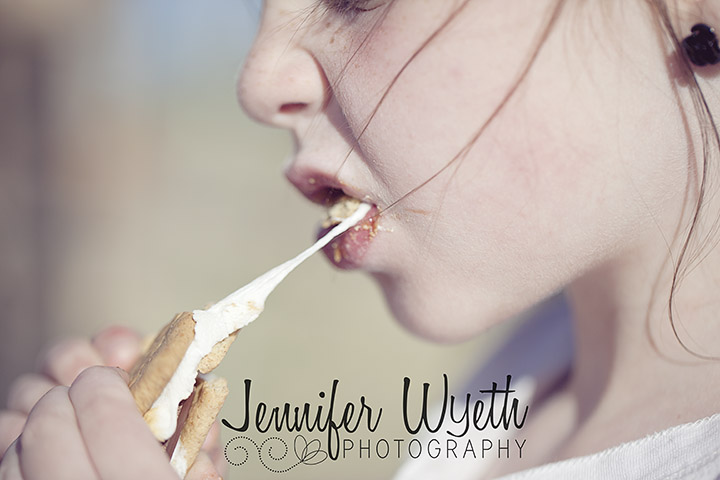
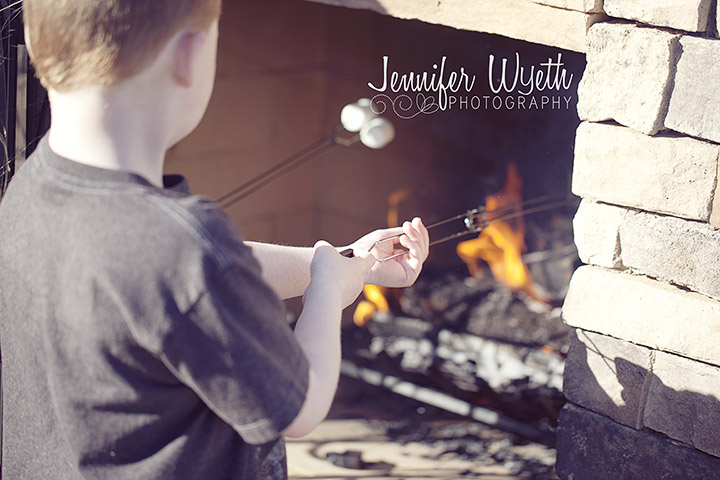
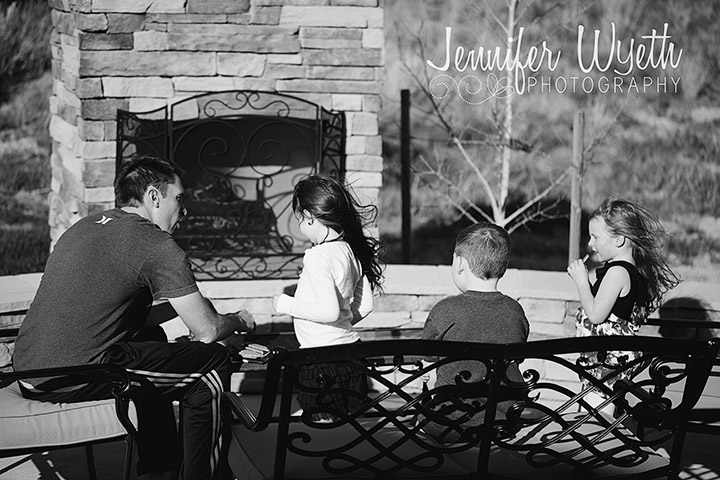
A few weeks ago we decided to break in the backyard fireplace and make some gooey  S'mores.  The kids absolutely loved them!  Who doesn't love a throw back to your childhood, am I right?  I took the opportunity to snap a few pictures with my "real" camera since I all too often just pull my iPhone out of my pocket and use that.  (I blame Instagram!)

I want to make sure that I remember to capture these little moments.  The details of these day to day activities WILL eventually go away.  My kids will grow up.  The cute little dimples are their knuckles will someday get wrinkles.  Comforting the bad dreams in the middle of the night will turn to them rolling over and falling back to sleep on their own.

Because of this, my New Year's Resolution was to pull out the big guns and try to take more pictures of my sweet family; no matter the background; no matter the light.


string of marshmallow coming from little girls mouth

marshmallow on a stick in a backyard fire

messy dirty toddler hand

family roasting smores together in a windy backyard

Location Hunting~ Colorado Springs Photography Tips

As photographers we are always (ALWAYS!) looking for fun places to shoot... places that will inspire us... places that are unique and all our own... places that when people see the images they say, "Where did you take these?!?" Well, look no further!  I'm here to give you a few tips on location hunting and finding those prime spots that will be all yours!

1.  Always be on the prowl.  When you're out and about, watch what you're driving past.  You just may find a hidden jewel you've seen a million times.

2. Don't look for the Taj Mahal.  Some of the best places I have ever discovered have been dinky places on the side of the road.

3. Don't be afraid to ask!  If something is private property give it a try!  It's amazing what people will do for a warm plate of chocolate chip cookies!

4. Look to the Internet.  Often times you can find really amazing places on flickr, Instagram, or even Facebook.

5. Ask fellow photographers to go location hunting with you. Raise your hand if finding an awesome new place makes you pee your pants just a touch.  (Trust me, everyone's hands are high in the air).  Your photog friend may see a vision that you would have otherwise missed!

6. Watch the light. Light can be sneaky!  Always moving around on us!  Sometimes an otherwise boring location turns into a magical photographer's oasis at certain times of day.  There are places I won't shoot at in the evening (you know, during that blessed golden hour?!) because they just don't work with the light the same as they do in the morning.

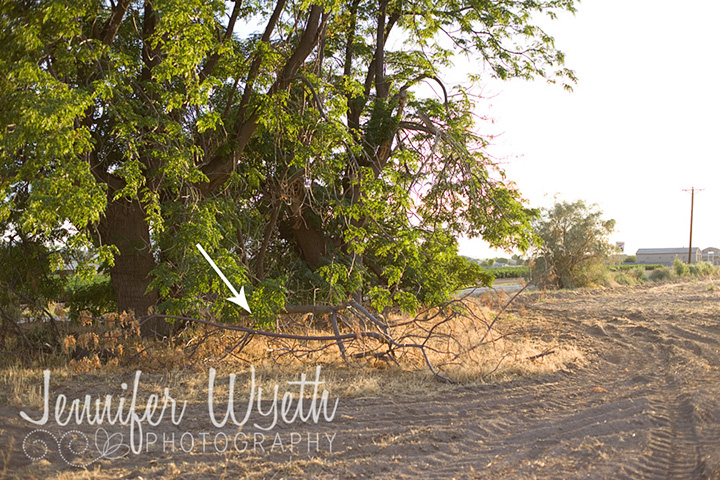
7. Don't be afraid to move things around.  Break a sweat and drag that tree trunk across a field to where the light is yummy!

Here are some images of a shoot I did a while ago.  My photographer friend and I found this location on the side of a busy road... there was even a bright blue dumpster there!

dead tree in dirt provides beautiful pictures in golden light

woman lays on dead tree after location scouting

textured tree provides beautiful light and location for maternity pictures

pregnant woman in pink laughs and cradles her tummy

location hunting found tree with green leaves in dirt field

maternity picture on tree trunk of beautiful blond looking down

I'm Featured on Chic Critique!~ Colorado Springs Photographer

jennifer wyeth photography is featured on chic critique photography forum I LOVE this photography forum.  It's called Chic Critique Forum.  It was created by a good friend of mine, Kelli France, and I have become really involved in it.  I was super excited when they posted a blog post on location hunting that I wrote.  (It will also be appearing on my blog shortly.)  So, take a second and head over there and check it out.  And if you're a photographer looking for a good forum to learn and grow, that's a pretty good place to hang out!  So many amazing people to learn from!!

Reflectors. A Photographer's Best Friend~ Colorado Springs Children Photographer

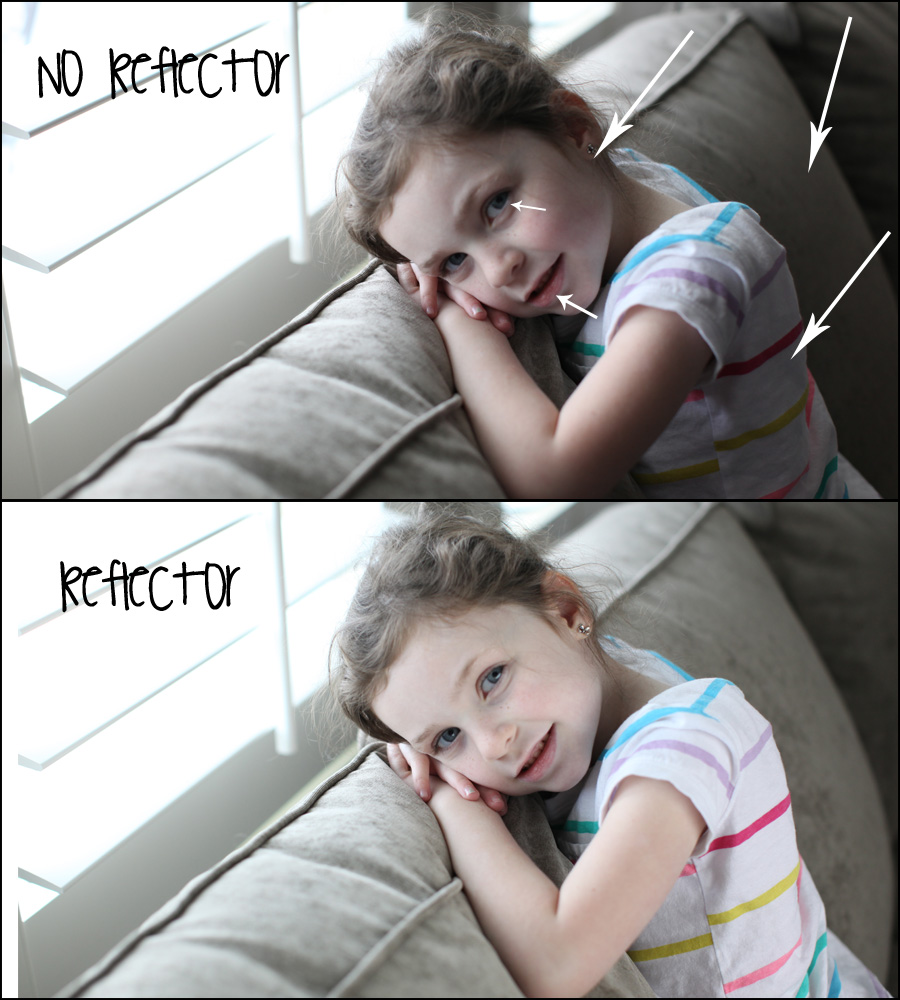
Reflectors are UH-MAZING.  Seriously.  I pink puffy heart mine.  It makes a world of difference when you are in a low light situation or backlighting someone and you just want a little more light on their face.  I wanted to get an offical reflector for a long time.  I used a big piece of white foam board that worked fine but it didn't give my images the kick I wanted them to have.  So, I finally took the not-too-pricey (photographically speaking) and took the plunge.  This is the one that I had heard was great.  So, that's what I got.  Honeslty, I don't use the stand a ton because I haven't had to so far, but I'm glad I have it.  I still need to get more comfortable with using it ON the stand.  It takes me a while to get it to point the direction I want it to when I use the stand but I'm fairly confident that it's user eror.  ;)  I also got these little suckers because I live in the Windy City... no... not Chi-town.  The Windy City that doesn't get credit for the name it truely deserves.  Colorado Springs, Colorado.  I would hate for my reflector to fall down and smack someone in the face.  Then I'd have to do extra editing.  ;) I haven't had my reflector forever but from what I have seen for my personal preference, I like the gold side when i'm bouncing ambient lighting because it's still really soft.  But if someone is backlit I like the white side.  It takes that harder light and makes it a little softer and not quite as yellow/gold.  But ask me again in a year and I may sing a different tune.

I know I have used my little model here before but she holds still, she's cooperative, and she is only in school 1/2 day so she's around more.  These pictures are completely straight off my camera.  I haven't done anything to either of them.  The only difference is that in the second one I used a reflector.  The camera settings are the exact same.  They were taken about 30 seconds apart.  In the one with the reflector I put the reflector on my leg (which was propped up on the couch to my right so the reflector had something to lean against) and pointed it towards her.  I could see it in actino and could point it right where I wanted it  to get exactly what I wanted.  I have put arrows on the image that have been greatly affected by the reflector.  The ones that are easy to miss but are super important are her catchlights.  Catchlights are those little bits of light in her eyeballs that breathe life into the picture.  Even her teeth look better!!!

reflector use


I really enjoy having my reflector and encourage anyone who is serious about photography to invest in a good one.  This one works just a touch better than my foam one.  ;)

Capturing the *Real* Smile~ Colorado Springs Candid Photographer

I cannot express how many times I have told my little goofballs to give me a real smile... at which time they proceed to give me their widest, cheesiest, nostriliest grin.  Ugh. It.  Drives.  Me.  Batty.

I mean, I don't blame them.  The only thing that is more in their face than my big camera is my iPhone camera.  I can't help it.  What if one moment of their lives goes by and I DON'T get a picture of it?!?  (Right??  Doesn't that sound like a tragedy?)  ;)  I am for sure a lover of candid images.  I love the pictures that show how people are.  The ones that tell a story.  Do I always get them?  No.  But I try to.  I know that every mom out there wants the cookie cutter sit and smile image of their child.  And guess what I have hanging in my house?  Cookie cutter images of my children smiling.  But I also have images that capture a moment in time.  One that I may have allowed to fade if left just to my aging brain to remember.  I love detail shots.  I love shots that people look at and go, "Oh wow!  You can just tell how much they adore each other" even though not every single tooth in the subject's mouth is showing.

That being said, HOW do you get those image?  How do you get kids, big or small, to get rid of that cheesy grin and show you that sweet, sincere smile they have when they are laughing or when they are listening to ther mom tell them how much they are loved?  THAT smile.  How do you get that?  I have come up with a few ideas that seem to work on kids of all ages.  Not all of these ideas are socially acceptable and I'm sure I've had a mom want to flick me on the nose from time to time... but I think that feeling passes when I show them super killer shots of their kids *real* smile.

fake smiles


I have a few tricks up my sleeve that I use when I'm taking pictures of kiddos, whether they are mine or not.  I have picked them up all over the place: reading articles, friends, other photographers I have gone shooting with, but mostly from being a goofy mom.  Like most other mamas out there, I will do just about ANYTHING to bring a smile to my child's face and hear a giggle escape their little lips.  (Think "Friends" epidose where Ross and Rachel sing "I Like Big Butts" to their newborn just to make her laugh.)

1.  If mom and dad are NOT in the picture have them stand WHERE YOU WANT THE CHILD TO LOOK and be silly.  If you want the child looking at the camera, tell mom to cozy up to the top of your head.  If you want the little one to be looking a little to the right, have Mom and Dad stand there.  Just be sure they aren't blocking your light.  They don't know any better.  ;)

2.  Throw a ball up.  You can get balls that make noises when they bounce, balls with texture, balls that light up, balls that make an annoying noise that kids will undoubtedly think is funny.  With this one you do need to make sure you set ground rules though.  "I'm going to throw this SUPER cool ball but you need to make sure to stay super still or the ball can't leave my hand."  Or something like that.

3.  Have a contest to see who can make the most annoying noise.  Or the loudest laugh.  Or the silliest laugh.   This one, shockingly works really well with adults as well.  Often times when I'm trying to get men to stop giving me a smile that looks like it belongs on nothing short of their drivers license, I will use this one.  Then, of course with the camera ready, I will make a VERY odd sound or obnoxious laugh.  Gets them every time.  The child (or grown man) will relax and laugh because they realize you are a complete idiot.  (In my case they are not incorrect.)

4.  If you have a remote for your camera have your camera set up and do a little dance for the little tyke.  If you don't, make Mom do it.  The goofier the dance the better the laughs.

5.  (This one of one of my top go-to's.)  Make up words to a song they know well.  For example, my kids love and adore Phineas and Ferb.  Whenever I'm trying to get a smile out of them I change the words to something completely and utterly wrong.  Or, my girls love "Princess and the Popstar" (don't ask).   So I will sing that song at top volume in a completely vabrato filled voice.  Or in a super goofy voice.  Even with the correct words you can make them laugh at their favorite song.  You will also get a few different, very snap-worthy, pictures out of this one.

6.  Call then the wrong name.  "Hey Gertrude!"  Or call their family members the wrong name.  Pointing at Dad, "Is that your mom?"

7.  Have them tell you a joke.  Often times my children's jokes make absolutely zero sense.  BUT, they think their own jokes are hilarious.  So, try it.  I bet they have a good one they're dying to share.  And, then, of course, cue your over-the-top laugh.  I also will have a page on my phone pulled up with jokes that I can tell them.  They are always very silly jokes that a three year old will get.  I also ask Mom and Dad to laugh along so that the little one will laugh.  (I will do this with teens that are just a bit uncomfortable in front of the camera as well.  They laugh because it is just so dorky.)

8.  Old Faithful: "Don't Smile!"  Now, with this one you have to know your audience.  I did this a few years ago with my adorable little niece and she promptly burst into tears.  Oops.  I only see her every now and again so I didn't know that she was super sensative.  I felt really, and I mean REALLY, bad.  But, *normally* it works.

9.  With older kids and teens, play the "Who's the cute boy/girl in your class?" card.  Or ask about their boy/girl friend.

10.  Play a (stationary) game (unless you're ready to chase!).  Peek-a-boo is a good one with little kids.  Have them try to scare you, and, obviously act very scared when they holler "BOO!" at you.  If they're fairly small then you can play the "Where's your hair/belly button/ear/ eye" game.  They'd love to show you everything they've learned as soon as they are comfortable with you.  If Mom and Dad are there then they can do something like "Here comes the bee!!"  And then come at them slowly (long enough for them to giggle with anticipation and for you to snap a few pictures).

11.  If mom has brought along their prized posession (a Lightsaber or a puppy they always sleep with) have them show that off.  That will get them to give you a nice sweet smile because they love whatever it is that Mom found worthy of making an appearance in picture.

12. And for the grand finale, make every bathroom noise and say every bathroom word you can think of.  Fart.  Pee.  Poop.  Toot.  All of them.  These ones are ALWAYS winners with little kids.  Moms?  Uhhh... not so much.  But, to me, it's worth it.  I usually throw out a bathroom sound and then say, "Eeew!  Was that your mom?"  Or, "Sick!  Did you HEAR that?!?"  It works.  Promise.

I must say, these tricks are fairly obvious and common but that's because they work.  They are good ones to keep in your back pocket.  Like I mentioned above, make sure you know your audience.  Don't come off too strong right off the bat or they're going to be scared of you.  I'm sure there are a million other ways to get kiddos to shoot you that million dollar grin without it looking canned but these are just the ones that I have found work for ME.